Rinkt Robot
Executes Project workflows triggered or scheduled by the Portal.
Install and run the Robot#
Navigate to https://www.rinkt.com/download and press on Download Robot.
Once the download is complete, double click the msi file.
Once Rinkt Robot is installed, it should start automatically, unless it is unchecked in the last step of the installer.
Login to the robot using the same credentials as for the Rinkt Studio or create an account.

Once the robot is logged in, it can receive requests from the Portal on the same account, or a linked account. Rinkt Robot can work in either attended or unattended mode, based how the workflow was run from portal. To run concurrent multiple workflows, you need to have multiple Automate Robots connected to an account.
Rinkt Robot options#
The following context menu can be accessed by right clicking the Rinkt Robot icon under system tray.
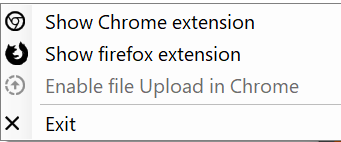
- Show Chrome Extension. Opens Chrome browser and navigates to the Rinkt Chrome extension page.
note
In order to run workflows with Chrome extension on this robot, we must install the extension. By default, the extension is installed, but not enabled(Google Chrome restriction).
- Show Firefox Extension. Opens Firefox browser and navigates to the Rinkt firefox extension page.
note
In order to run workflows with Firefox extension on this robot, we must install the extension. The extension is not installed by default.(Firefox restriction)
- Enable File upload in Chrome. Opens the extension settings in Google Chrome to enable file upload.
note
By default, Google Chrome browser blocks file uploads using an extension. If we are planning to upload files using Chrome extension, we must enable this option.
- Exit. Exits Rinkt Robot.
note
Close button sends the Robot to tray, it doesn't close the process.
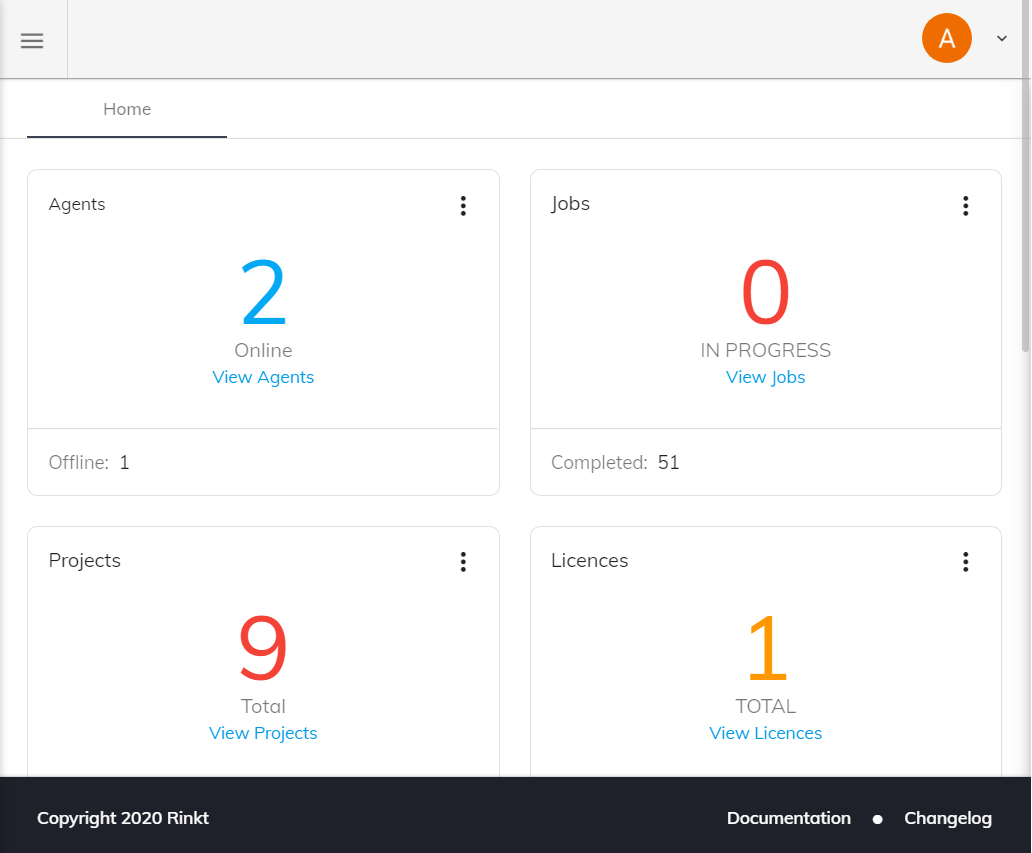
Rinkt Robot View#
Once your Robot is logged in, you can access the Portal through the Robot UI.